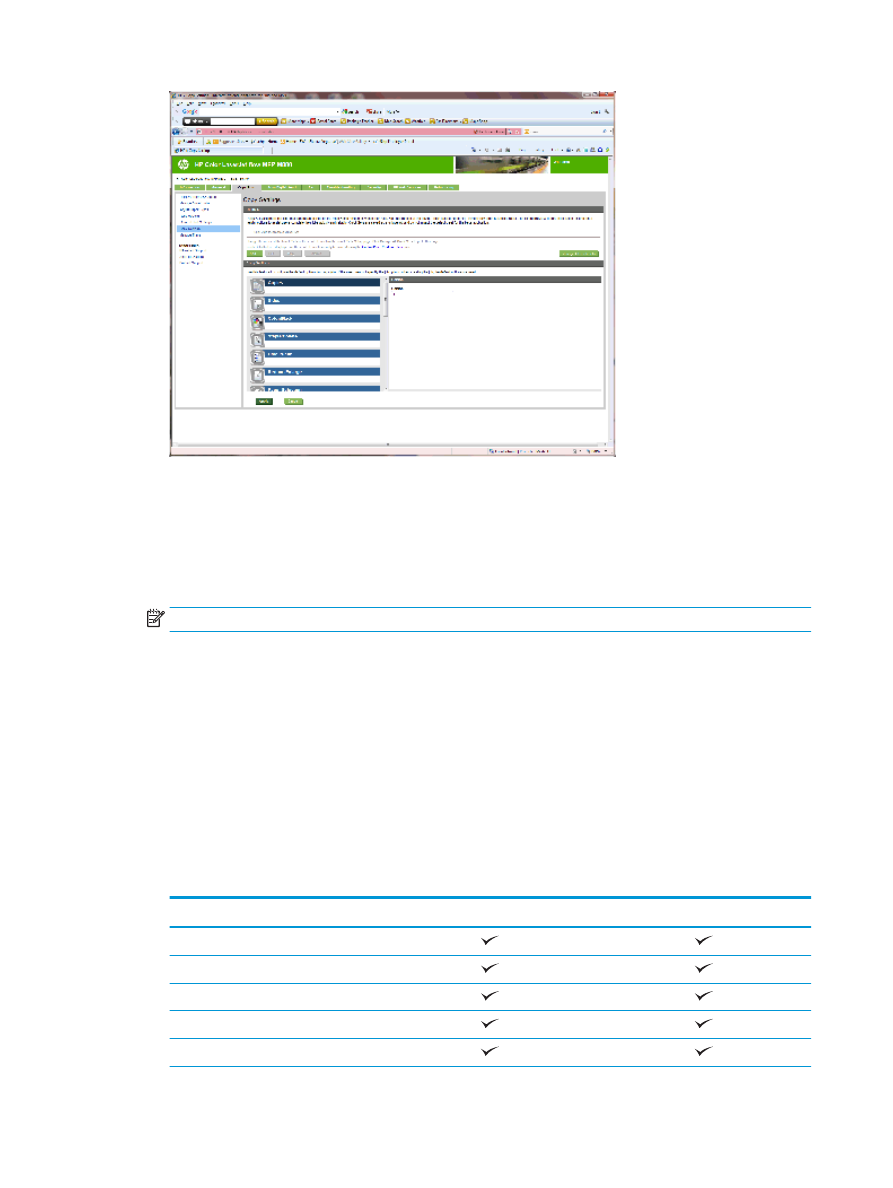
Step six: Configure the default hole punch location
1.
From the Home screen on the product control panel, scroll to and touch the
Administration
button.
2.
Open the following menus:
●
Stapler/Stacker Settings
●
Hole Punching
3.
Select a hole punch location from the list of options, and then touch the
Save
button. The following hole
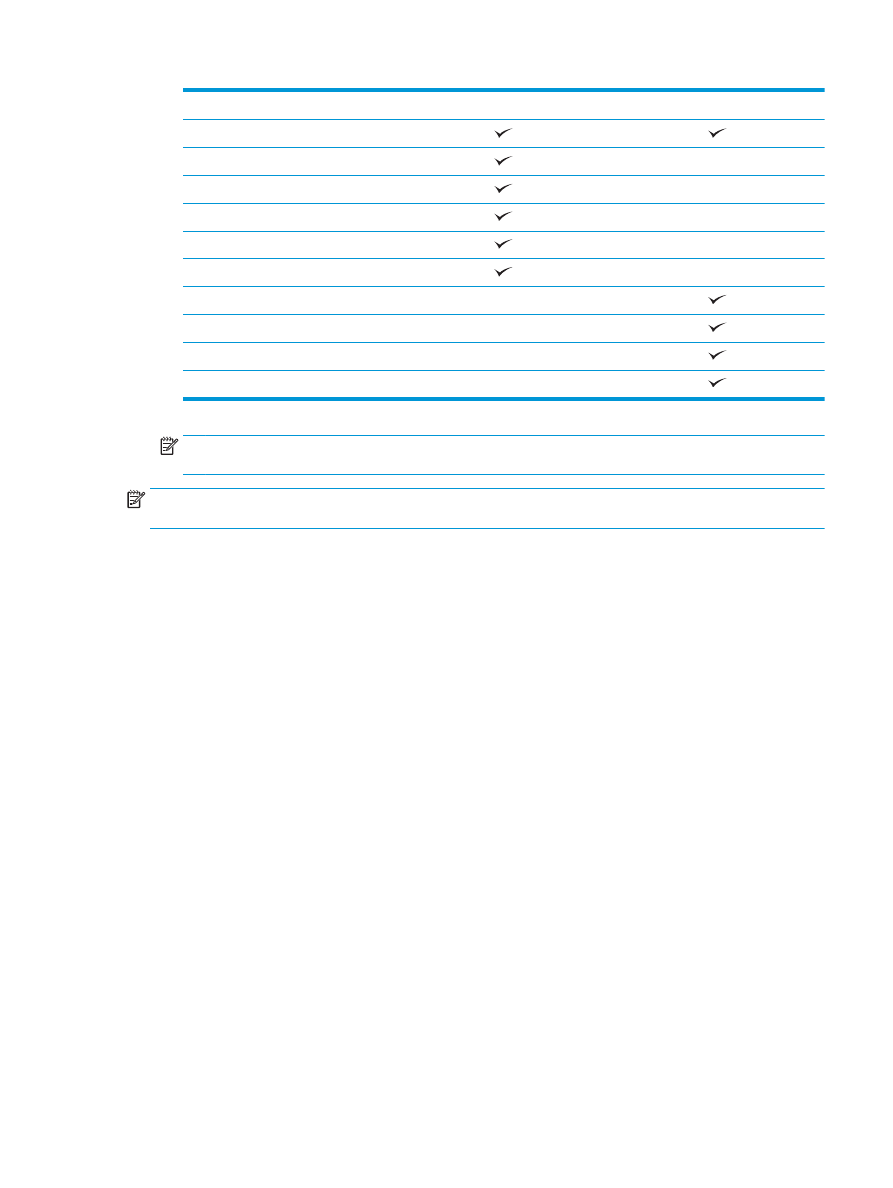
punch options are available for either a 2/3 Hole Puncher or 2/4 Hole Puncher:
Hole punch location
2/3 Hole Puncher
2/4 Hole Puncher
None
Two left or top
Two left
Two right
Two top
72
Chapter 2 Install and configure the finishing accessories
ENWW

Hole punch location
2/3 Hole Puncher
2/4 Hole Puncher
Two bottom
Three left
Three top
Three right
Three top
Three left or top
Four left
Four right
Four top
Four left or top
NOTE:
Not all options are available. Available options depend on whether the hole punch accessory is
a 2/3 or 2/4 hole puncher.
NOTE:
To use the hole puncher, load Letter or A4-size paper with the long edge of the paper along the right
edge of the tray (long-edge feed).