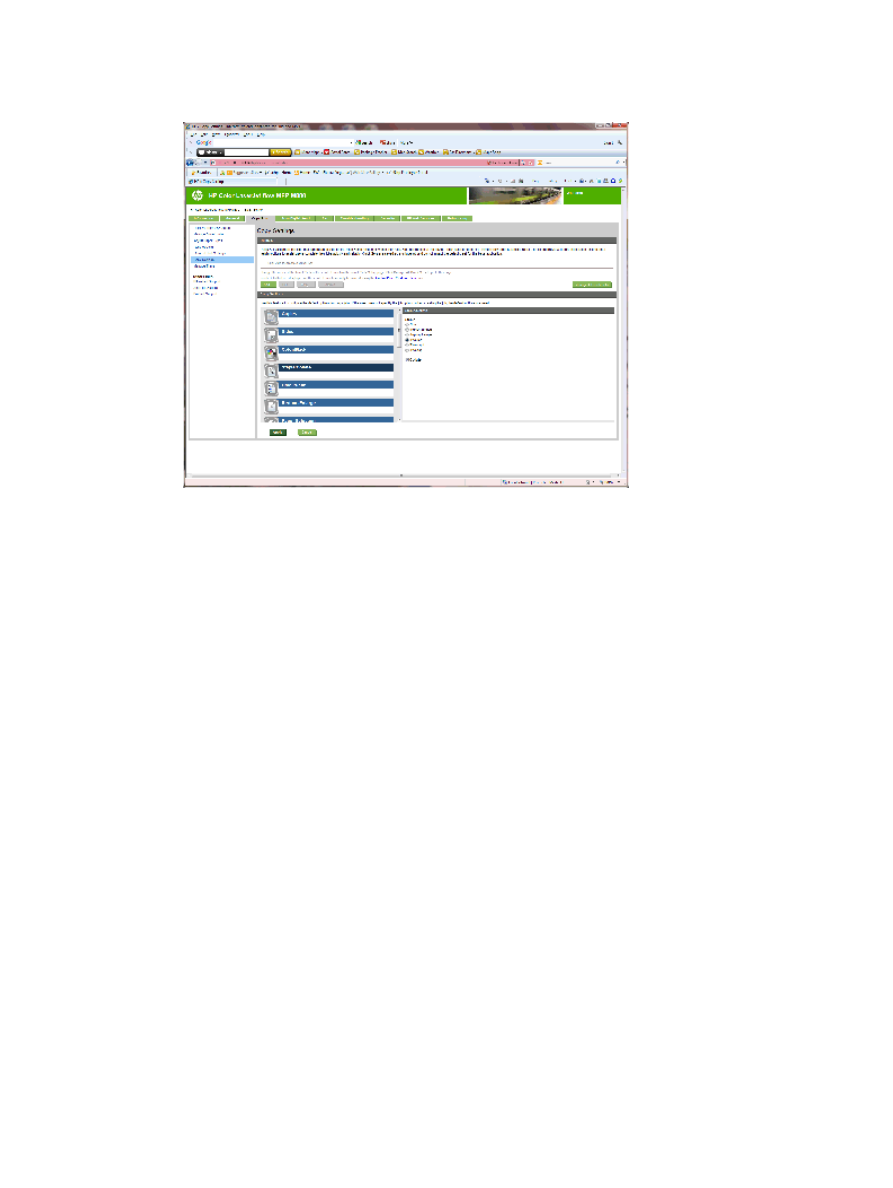
Step four: Configure the Staple/Collate settings
1.
Click the Copy/Print tab.
2.
In the left navigation pane, click the Copy Settings link.
78
Chapter 2 Install and configure the finishing accessories
ENWW

3.
In the Copy Settings area, click Staple/Collate (scroll if necessary).
4.
In the Staple/Collate area, do the following:
●
Select the position and number of the staples. The following staple options are available:
◦
None
◦
Top left angled
◦
Top right angled
◦
Two left
◦
Two right
◦
Two top
●
Leave the default as Collate or deselect the check box to stop collating.
5.
Click Apply.