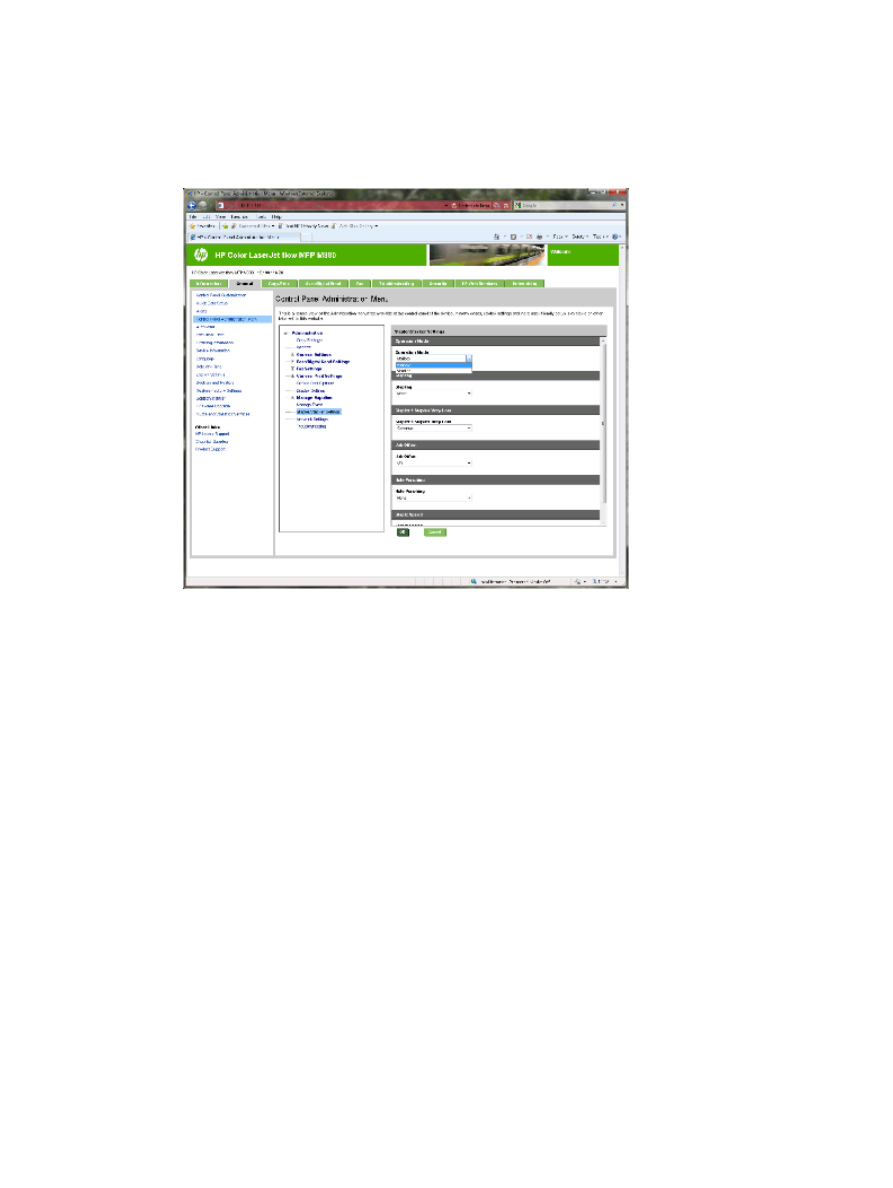
Step three: Configure the Stapler/Stacker settings
1.
Click the General tab.
2.
In the left navigation pane, click the Control Panel Administration Menu link.
3.
In the Control Panel Administration Menu area, expand the Administration list.
4.
Click the Stapler/Stacker Settings link. Select the item settings to configure:
●
Operation Mode drop-down menu: Mailbox or Stacker mode
●
Stapling drop-down menu: select the position and number of staples. The following staple
options are available:
◦
None
◦
Top left
◦
Top right
◦
Two left
◦
Two right
◦
Two top
◦
Two top or left
●
Staples are very low drop-down menu: select to Continue or Stop from the drop-down menu
●
Job Offset drop-down menu: select On or Off from the drop-down menu
●
Low-humidity Printing drop-down menu: select Enabled or Disabled
ENWW
Configure the product for Mailbox Mode or Stacker Mode
77

●
Hole Punching drop-down menu: select the position and number of holes to punch. The following
hole punch options are available:
◦
None
◦
Two left or top
◦
Two left
◦
Two right
◦
Two top
◦
Two bottom
◦
Four left or top
◦
Four left
◦
Four right
◦
Four top
●
Staple Speed drop-down menu: select the appropriate staple speed:
◦
Automatic
◦
Fast
◦
Slow
5.
Scroll to the bottom of the page, and click OK.